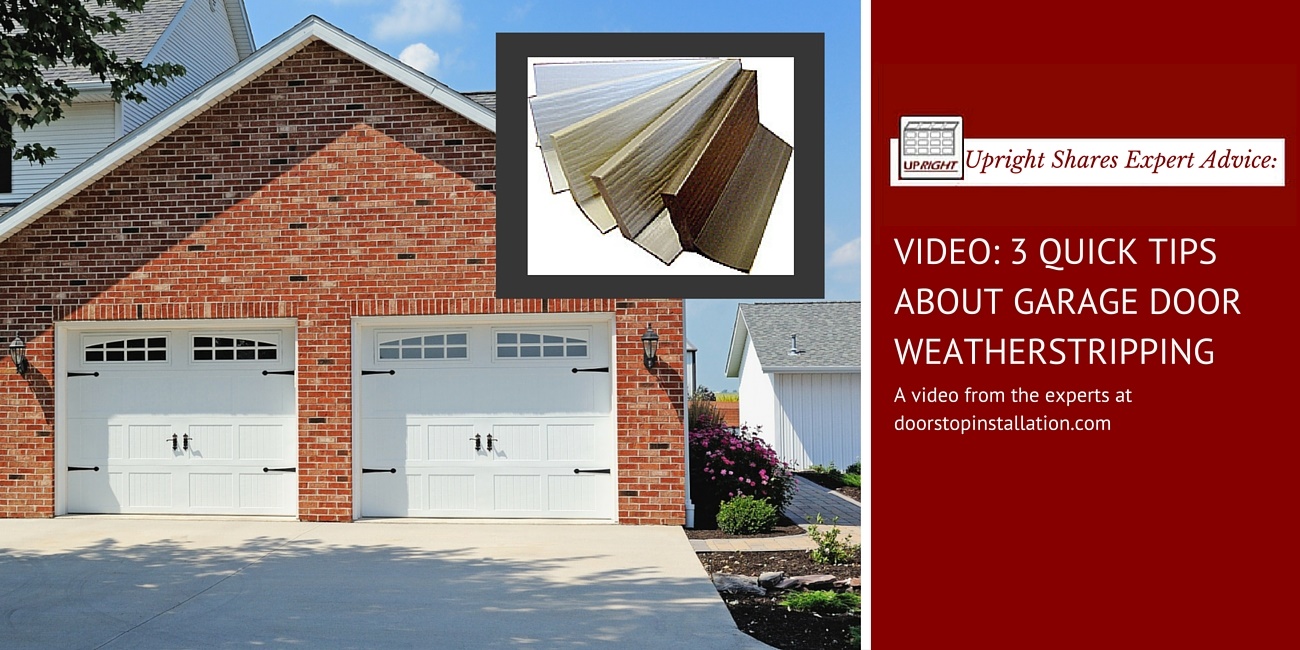
Did you know that your closed garage door can allow unwanted air infiltration, and be a contributing source of heat/energy loss for your home?
How so, you ask?
Let’s say you have a standard, 9’x7′ garage door, which isn’t sealed around the perimeter, and has an 1/8″ gap around it.
No big deal, right?
Think again. This would equal just under 50 square inches of area for your comfortable temperature (which your heating and cooling appliances have worked so hard to attain) to escape, and allow the outdoor temperature in. To put that into perspective, that would be equivalent to having a hole at your home’s entrance that’s roughly the size of a heat register. A hole that size is bound to allow a considerable amount of air in and out!
That’s not even addressing the fact that garages have the largest openings in your home, and garage doors may be opened up to 6 or more times a day – that’s quite a lot of heat loss in the winter, resulting in potentially major fluctuations in the temperature of your garage and the adjoining rooms, including any living quarters above the garage.
Maybe it’s more of a significant issue than you originally thought.
So what steps can you take to prevent that air infiltration around your garage door? Weatherstripping is a good place to start.
1.) Understand the benefits of weatherstripping
Even if you have an insulated garage door, you can further reduce drafts by outfitting your door with weatherstripping. Not only does it provide a cushion for the door as it comes into contact with the cement garage floor as the door closes, but an adequately sealed garage also:
•prevents unwanted airflow and drafts from entering
•reduces amount of dust/dirt that can enter
•prevents rain, snow and leaves from entering
•prevents insects and small animals from taking up residence in your garage and causing damage to your possessions
•helps to maintain a comfortable temperature all year round, which also plays a part in reducing strain on furnace and air conditioner, thus saving energy
•helps with temperature control for rooms adjacent to garage
2.) Inspect weatherstripping regularly
Perhaps your garage has weatherstripping already, but when was the last time you inspected it? Over time weatherstripping will deteriorate and lose its seal and its effectiveness:
•Bottom rubber seal is susceptible to damage from wear and tear as bottom of door comes into contact with garage floor as it closes repeatedly throughout the day.
•Moisture, cold weather, and ice can cause deterioration.
•Small rodents can chew holes at bottom weather seal to gain access to your warm garage.
Take a few minutes and do a visual inspection to see what kind of shape your weatherstripping is in:
•Inspect the top, and side vinyl weatherstripping, as well as bottom weather seal for sagging areas, cracks and tears.
•With door fully closed, check for gaps and daylight at the bottom of garage door, and along sides.
3.) Replace damaged weatherstripping
This can be a DIY job, or if you prefer, you can book an appointment with the professionals at Upright Door Service Inc. While you will have to spend money on weatherstripping materials, you will make up the cost in the energy savings!
Watch the video below from Advanced Plastic Corp. to see how to replace the weatherstripping. But before you get started, with the garage door in the closed position, make sure the garage door opener is disengaged to prevent anyone from operating the door while you are working.
Looking to make your home more energy efficient? While you’re at it, take the time to caulk around doors and windows of your home to seal cracks and joints to further prevent unwanted drafts. Have an un-insulated garage door? For the ultimate in energy savings, consider making the switch to an insulated garage door.
We live in a region where temperatures fluctuate and can be extreme. Creating a tight fit around the perimeter of your garage door will seal the door, reducing the amount of air infiltration into your home, and make your home more energy efficient – saving you money!


